

How To Install Pihole On Windows

How to Install Pi-hole in a Windows machine

Table of Contents
Pi-pigsty is a network-broad ad blocker. This will cake Ads to all devices continued to your home network without having the need to install advertizing blocker in each device. Pi-hole can run on multiple devices ranging from Pi Cypher to servers. Effort to select a device which you tin can run 24/7, If you are worried about ability usage and then Pi zero might exist the all-time choice. In this article we will see the steps to install Pi-pigsty in a windows car. Steps in this article were tested on Hyper-V, but the idea is the aforementioned for VM VirtualBox OR VMware Workstation.
Step 01 : Create a virtual auto (VM) with Debian Buster with Raspberry Pi Desktop
-
Download ISO for Debian Buster with Raspberry Pi Desktop from https://www.raspberrypi.org/downloads/raspberry-pi-desktop/
-
Create new virtual auto using the downloaded ISO and Install Debian Buster with Raspberry Pi. Classify 4GB for memory and 40GB for storage

-
Start the virtual machine and select
Graphical installpick and follow the on screen instructions
-
Afterward Raspberry Pi Desktop installation finishes, popular up will prove to configure Raspberry Pi Desktop. Here update the configuration to set up countersign and enable ssh
Step 02 : Install Pi-hole in Raspberry Pi Desktop
-
ssh into Debian Buster with Raspberry Pi using putty. User proper noun is
piand countersign is what you selected during Raspberry Pi Desktop configuration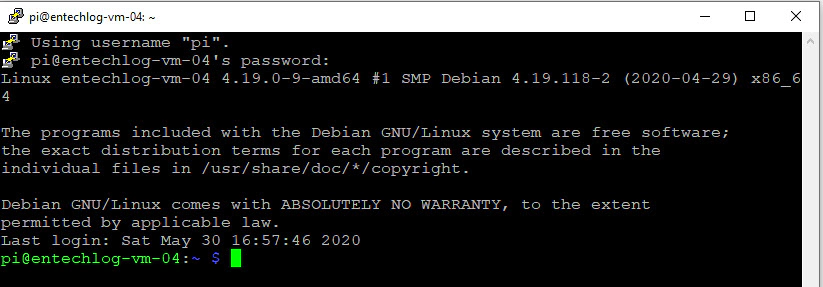
-
Install Pi-hole using below command. Refer https://pi-hole.net/ for whatever additional information
curl -sSL https://install.pi-hole.net | fustigate -
Installation will bring up UI with on screen instructions
- Select
Okequally applicable - Select your preferred DNS provider. I read good reviews about Quad9 then using it for at present every bit DNS provider
- Pi-hole needs a static IP, So select
Yesto use electric current network settings as static address - Select
Onforweb admin interface,web serverandlog queries - Remember to annotation down login URL, user proper noun and password for web admin interface
- Select
Step 03 : Configure your router
- Login into your routers admin panel by navigating to http://192.168.1.one in your browser. Here are some default user name and passwords for mutual router brands. If y'all have ever inverse the password use the updated password to login
| Router Make | Login IP | Default username | Default password |
|---|---|---|---|
| Linksys | http://192.168.ane.ane | admin | admin |
| Belkin | http://192.168.ii.1 | admin | admin |
| Asus | http://192.168.one.1 | admin | admin |
| Netgear | http://192.168.0.one | admin | password |
| Synology | http://192.168.ane.1 | admin | admin |
| Arris | http://192.168.0.1 | admin | password |
| Zyxel | http://192.168.0.i | admin | 1234 |
| Other Brands | http://192.168.0.1 | admin | meet tag on your router |
-
Navigate to the DNS server in the settings of your router and update it with the static IP of your device with Pi-Hole. This path will vary based on your routers make and model, for netgear devices its Net –> Domain Name Server (DNS) Address

-
Salve the changes, It may take a minute OR two for your router to use the new settings
Step 04 : Validate Pi-hole
-
Navigate to Pi-hole admin console at http://192.168.10.xxx/admin/.
Replace the IP accost with the static IP address from your installation. -
Admin panel will show details in dashboard every bit shown below
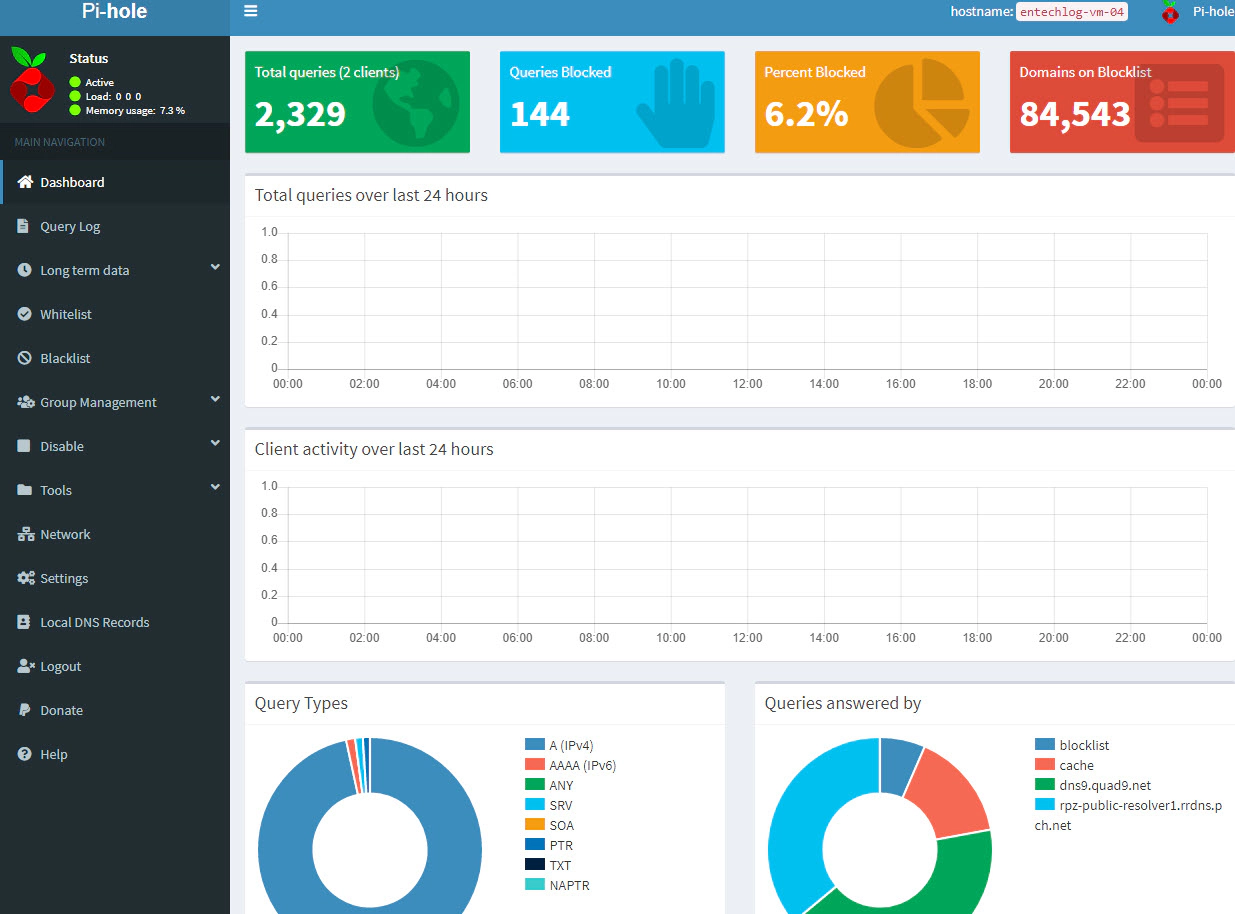
Pi-hole has now been successfully installed in your network. Ads to whatever devices connected to your network volition be automatically blocked by Pi-hole. Think to cake Ads, virtual machine with Pi-hole should be e'er running.
Comments
Source: https://www.entechlog.com/blog/general/how-to-install-pi-hole-in-windows/
Posted by: barclayhourn1996.blogspot.com
0 Response to "How To Install Pihole On Windows"
Post a Comment